Press-On Nails for Flat Nail Beds: Fit Before Glue
How to identify a curve mismatch on flatter nail beds and choose, fit, and apply press-ons without relying on extra glue to force the shape.
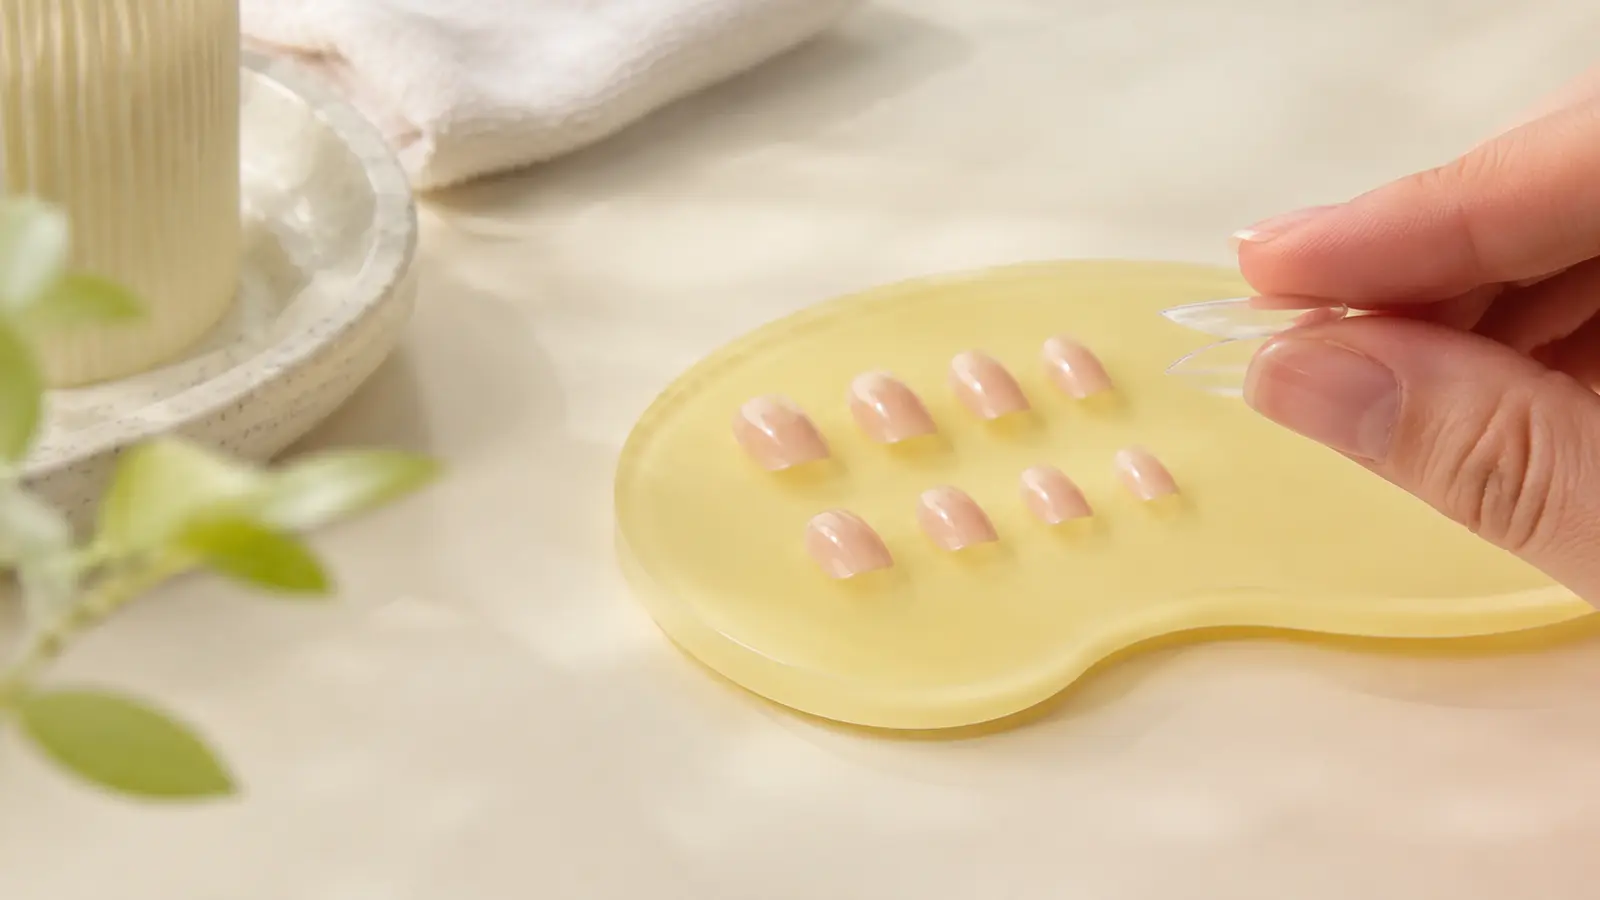
For flatter nail beds, prioritize a press-on that can rest comfortably with broad contact and little spring tension. Compare the natural nail and press-on arcs directly from the free edge; rocking, side lift, or a hollow area can signal a profile mismatch, but the gap location alone is not enough to identify the curve direction.
Check these first
- ✓ Look at your natural nail from the free edge.
- ✓ Dry-fit for side gaps before adhesive.
- ✓ Avoid tips that pinch when pressed flat.
- ✓ Use adhesive to bond a good fit, not to force a bad one.
Flat nail beds are mainly a curve problem
A press-on can match your width perfectly and still fit badly if its underside has a deeper arch than your natural nail. The mismatch creates spring tension: when you push the tip flat, the plastic wants to return to its original curve.
That tension often shows up as side lifting, center gaps, pinching, or repeated thumb failure. Measuring width alone cannot catch it.
A quick dry-fit check
Place the bare tip over the natural nail without glue. Look from the front and side. A workable fit should settle with light pressure. If you must squeeze firmly to make both edges touch, that tip is fighting the nail. Try adjacent sizes and, when possible, a different product line with a flatter or more flexible base. Do not judge only by the top silhouette.
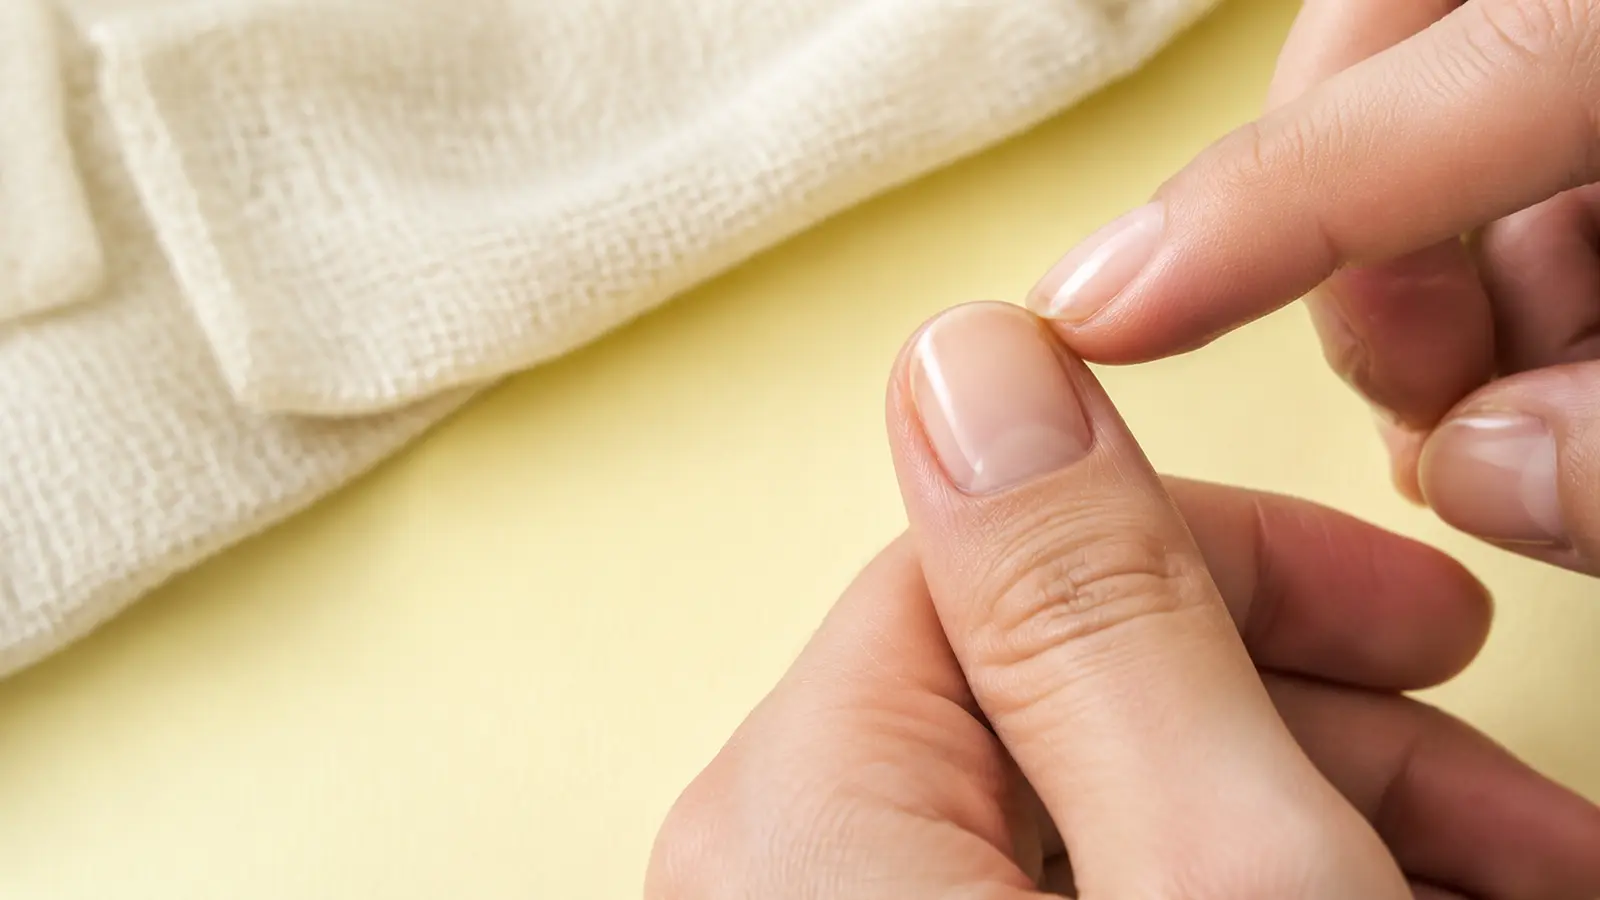
Choose flexibility carefully
A moderately flexible press-on can adapt to a flatter surface better than a rigid high-curve tip. That does not mean the thinnest possible nail is automatically best; the tip still needs enough structure for the length you wear.
Shorter shapes usually create less leverage and can be easier while you are learning which curve fits you.
Adhesive tabs versus glue on a curve mismatch
Tabs work best when the two surfaces already make broad contact. A large hollow or springy gap reduces predictable contact. Liquid glue can spread across close-contact surfaces, but it should not be treated as a spacer or structural filler for an obviously incompatible tip shape.
If a tip hurts when pressed down, stop. Choose another size or curve rather than using adhesive to hold a painful fit.
How to customize a close fit
If the width and curve are close, a small artificial-edge adjustment can improve the outline when that tip material and manufacturer guidance allow filing. File only a little, dry-fit again, and keep both sides symmetrical.
Do not aggressively flatten a rigid tip in a way the maker does not recommend. The safest and most repeatable strategy is finding a base curve that naturally suits the nail.
Map contact from the free edge
For flatter nail beds, the most informative view is often from the fingertip looking back toward the cuticle. Dry-fit the press-on and note where the underside touches first. A very curved shell may contact near the center while leaving the side edges suspended; squeezing it flat stores tension that can later appear as side lift or discomfort.
A better profile spreads contact across more of the nail with only light pressure. Do not judge the fit by whether you can physically force all edges down. The question is whether the tip naturally follows the nail closely enough that the adhesive only bonds two compatible surfaces instead of acting as a structural spacer.
Keep a shape-family record, not only a size number
Once you find a mold that works for flatter fingers, record the brand, shape, length, and raw millimeter width together. A size number by itself is not enough because the same nominal size can be noticeably more domed in another shape or product line. Your fit profile should capture which combinations sit flush without pressure.
This record also makes shopping more efficient. If a new set is visibly more curved than the shape family that already works, you can identify the risk before application. When product descriptions do not publish curve data, the dry-fit comparison remains the final check.
Diagnostic table
| What you see | What it suggests | Next check |
|---|---|---|
| Tip rocks side to side | Uneven profile contact | Compare the arcs directly and test a closer profile. |
| Sides float while center touches | Profile mismatch / forced contact | Compare the natural and artificial arcs directly; test a closer profile. |
| Tip feels tight even before glue | Profile tension or tip too narrow | Try a physically wider candidate or change profile; comfort comes before wear time. |
| A large cavity is being masked with adhesive | Fit is being compensated for | Choose a tip that sits closer before bonding. |
| Only thumbs have the problem | Thumb profile differs from other fingers | Fit thumbs as their own category. |
A controlled test plan
- 1
Look at the natural nail from the free edge and note how shallow the side-to-side arch is.
- 2
Place the candidate tip with no adhesive and press very lightly; it should settle without springing back.
- 3
Check the center and both sides for obvious daylight or rocking.
- 4
Compare at least two nearby sizes because width and curve interact.
- 5
Choose the tip that sits relaxed, then follow the adhesive maker’s directions rather than adding extra glue to overcome tension.
What not to do
- Using painful pressure to flatten a rigid, high-curve press-on.
- Choosing a narrower tip because it appears flatter.
- Assuming adhesive tabs can correct a large structural gap.
- Reshaping unfamiliar plastic with heat unless the manufacturer specifically supports it.
Worked troubleshooting example
Example: a medium-width tip appears perfect from above on your middle finger, but the side edges spring upward as soon as you stop pressing. You could hold it flat with force, yet the underside never sits naturally against the nail during a dry fit.
You compare a lower-curve tip at roughly the same width. It makes broader contact through the center and sidewalls with only light pressure, so you keep the adhesive and prep routine unchanged and test the new profile on that finger. The result is more comfortable and the side edges stop acting like loaded springs.
You write down the shape family that worked rather than only its printed size number. That note becomes more valuable than trying to remember which glue amount seemed strongest, because the main improvement came from reducing the curve mismatch before adhesive was involved.
Field notes
Flat nail beds are primarily a profile-matching problem, not a defect that needs to be hidden. A tip can match perfectly from the top view and still be wrong from the free-edge view. That is why our sizing tool treats millimeters as only the first step.
A lower-curve tip can also make the manicure look more natural because the press-on does not create a tall dome from the side. If a set repeatedly requires force to stay down, changing the tip family is usually a cleaner experiment than changing adhesive again.
Frequently asked questions
How do I know if my nail beds are flat?
Look from the free edge. A flatter nail has a shallow side-to-side arch compared with a strongly curved C-shape.
Why do press-ons lift on the sides of flat nails?
Side lift on a flatter nail can reflect an underside-profile mismatch, but the lift location alone does not identify which curve change is needed. Compare the natural and artificial arcs directly from the free edge and test a closer profile.
Can nail glue fix very curved press-ons on flat nails?
No adhesive should be treated as structural filler for a tip that pinches, rocks, springs, or needs strong pressure to sit flush. Compare a closer curve/profile first.
Sources checked
Sources below are page-specific. We prioritize manufacturer directions for product-specific steps and use medical or dermatology guidance when a safety question requires it. Always follow the instructions for the exact adhesive or set you own.