How Should Press-On Nails Fit? A 3-Point Fit Check
Use width, curve, and contact to judge whether a press-on actually fits before adhesive, instead of relying on the number printed under the tip.
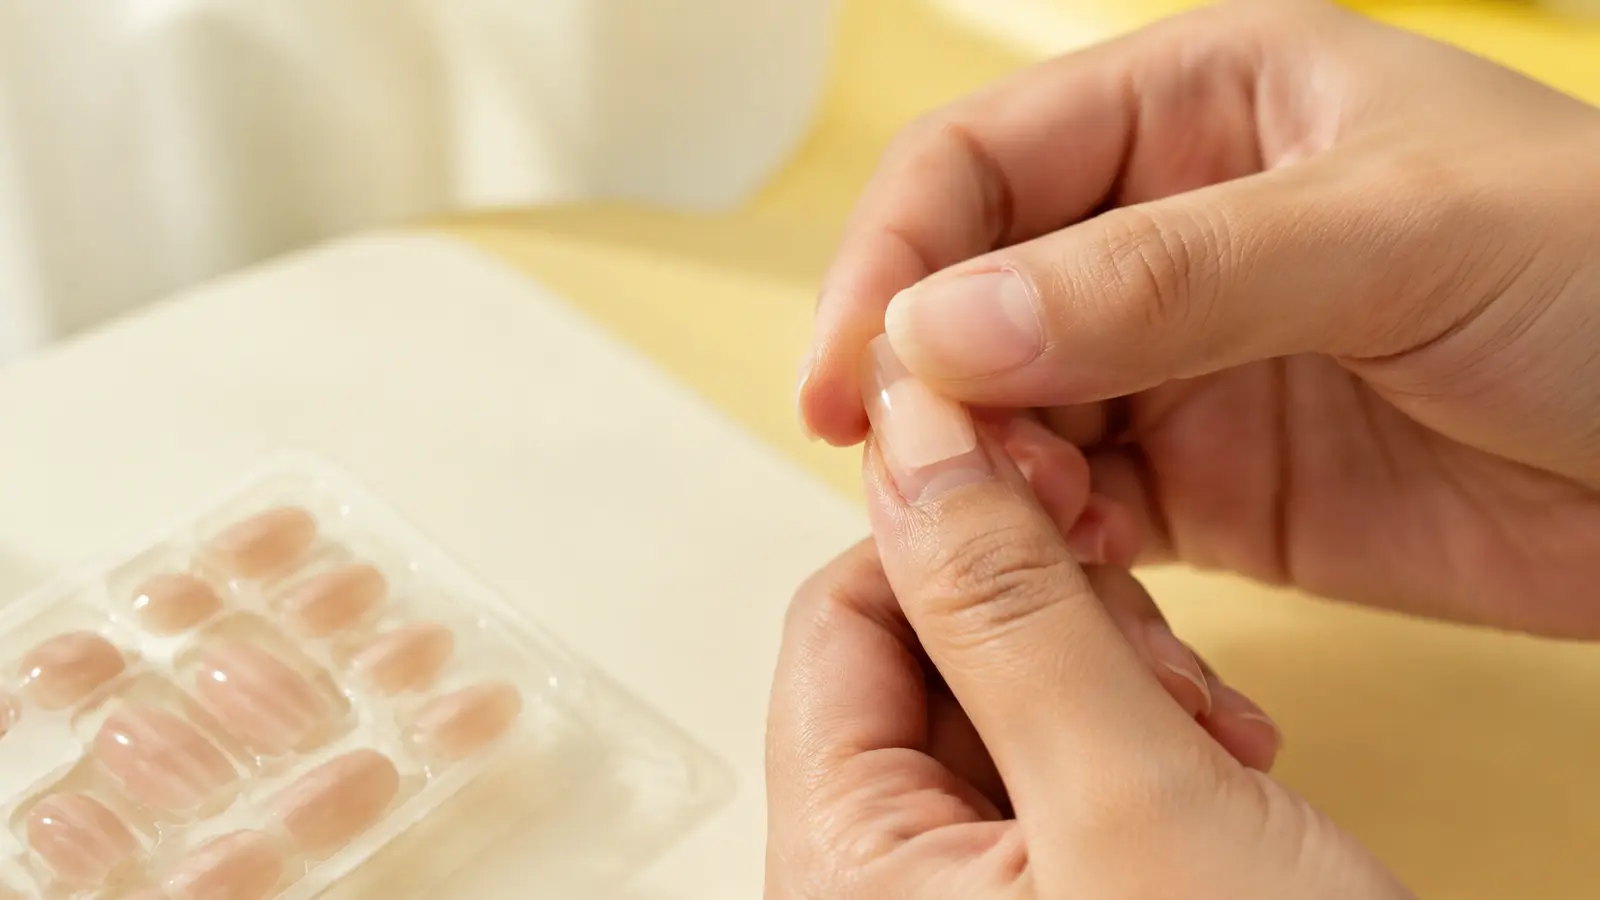
A good press-on fit passes three separate checks: it covers the visible nail plate from sidewall to sidewall without sitting on skin, its underside curve rests comfortably instead of pinching or springing up, and it makes stable contact without rocking or a large hollow gap. The printed size number is only a label inside that brand or shape; the dry fit on your finger is the real test.
Check these first
- ✓ Sidewall-to-sidewall coverage without skin overlap
- ✓ No pinching when the tip rests without force
- ✓ No rocking when you press lightly at the center
- ✓ Cuticle edge follows the base without sitting on living skin
Think in three dimensions, not one size number
Press-on sizing is often explained as a width problem, but a nail can match the width and still fit badly. Look at the tip from above, from the free edge, and from the side. From above you see width and cuticle alignment. From the free edge you see the side-to-side C-curve. From the side you can notice whether the press-on touches evenly or pivots on one high spot.
This is why two tips with the same printed number can feel different across brands, shapes, or collections. The number helps you organize pieces inside that system; it does not prove the physical dimensions or curve are identical elsewhere. Keep your millimeter widths, but treat the dry fit as the final check.
- View 1: width and sidewalls from above.
- View 2: C-curve from the fingertip.
- View 3: contact and rocking from the side.
Check width without letting the tip sit on skin
Place the dry press-on over the natural nail and center it. You want the artificial side edges to reach the nail plate edges without extending onto the surrounding skin. A visible strip of natural nail at the side usually means the candidate is too narrow. A tip that overlaps skin is too wide at that point or needs a different base shape.
Do not force the tip flat while judging width. Pressure can make an over-curved nail temporarily look like it covers perfectly, then the stored tension shows up later as pinching or side lift. Let the tip rest naturally first, then inspect coverage.
Check the C-curve for comfort and side contact
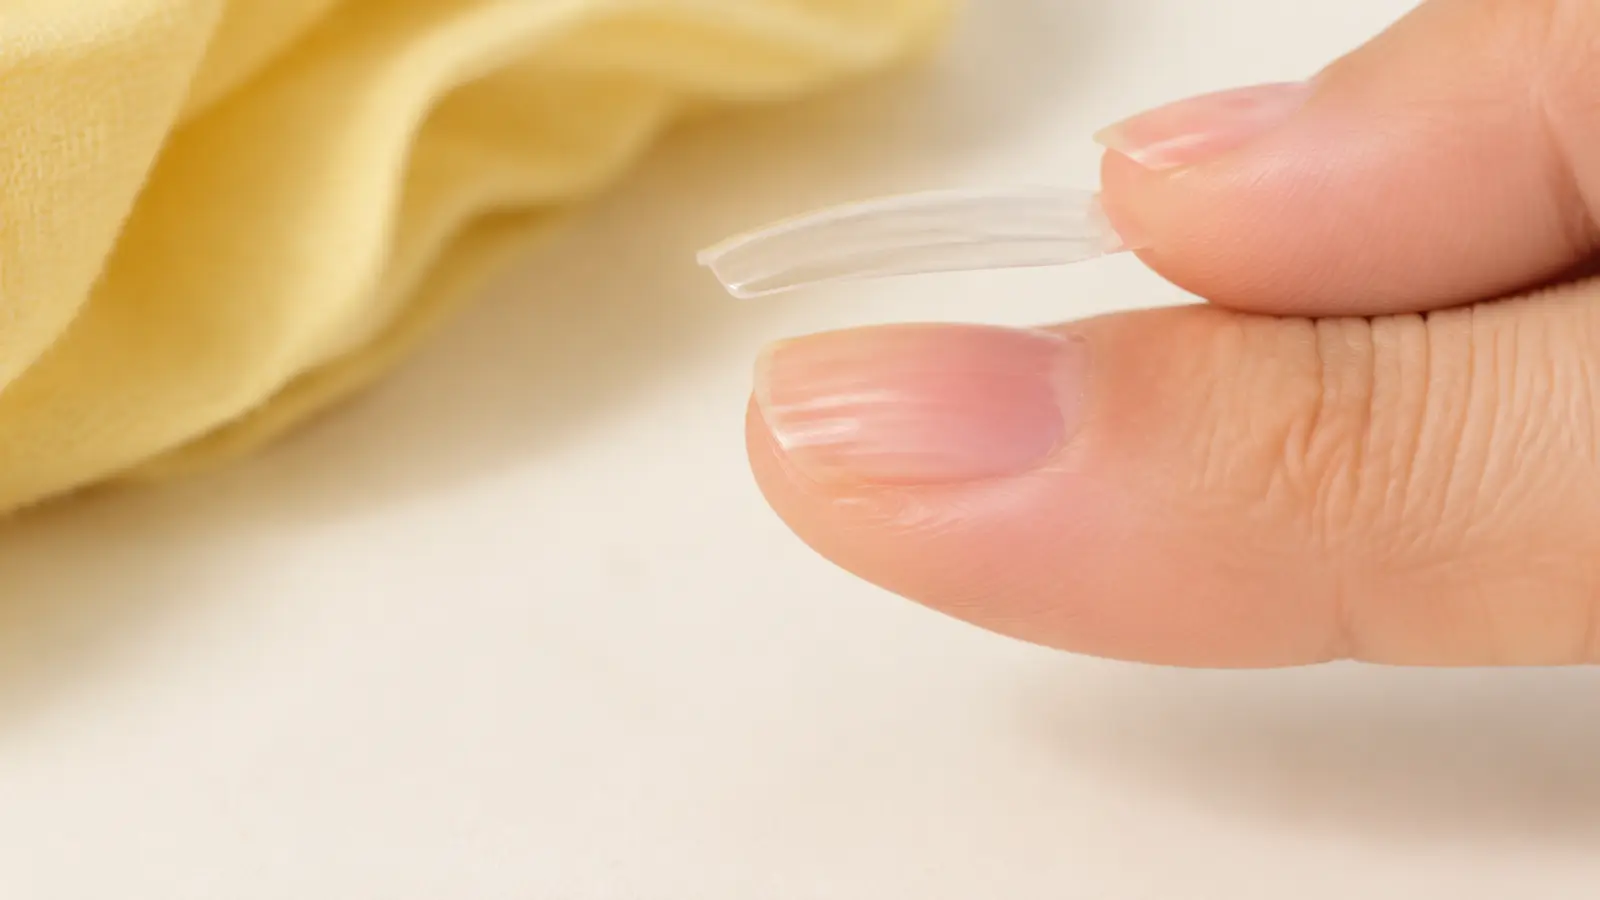
The C-curve is the side-to-side arch you can see when looking toward the free edge. Compare the natural nail and press-on arcs directly. A substantial mismatch can show up as pinching, spring-back, rocking, a center hollow, or an edge that will not settle; the gap location alone does not reliably tell you which direction to change.
Adhesive works best when the two surfaces can meet with reasonably compatible contact. A small variation may be manageable within a product's normal application method, but a press-on that needs constant finger pressure to stay in shape is a poor candidate. Choose a closer profile instead of using adhesive as structural filler.
Check contact, rocking, and the cuticle edge
With no adhesive applied, press gently near the center and then release. A stable candidate should not seesaw dramatically from cuticle to tip or from side to side. If it rocks, find the pivot point. A high center can indicate a curvature mismatch; a base that lifts while the tip stays planted can point to a cuticle-shape or longitudinal-profile mismatch.
At the base, the press-on should visually follow the cuticle line while remaining on the nail plate. Do not tuck it under skin or jam it against the proximal nail fold. If a slightly wide tip otherwise fits well and the maker allows filing, a small controlled adjustment can be better than accepting skin overlap.
Comfort is part of the fit test
A manicure that looks flush but hurts is not a successful fit. Strong pressure, throbbing, or persistent pinching means you should remove or reject that candidate rather than waiting for the feeling to pass. Check whether the problem comes from width, curve, or a base edge pressing where it should not.
Also separate fit from wear-time ambition. A more aggressive curve or oversized piece may feel secure during application because it is under tension, but that tension is not a benefit. The goal is comfortable contact first, then an adhesive strategy that matches the exact product directions.
Use the fit result to choose the next action
If width is wrong, compare the neighboring size. If width is close but the tip rocks or pinches, compare a different shape or profile rather than only changing size. If fit is stable but multiple nails still release early, move on to prep and adhesive troubleshooting. If one finger is the repeat offender, treat that finger as its own fit problem.
This order prevents random troubleshooting. Width, curve, contact, then adhesive is a much cleaner diagnostic sequence than changing glue, buffing, hold time, and nail size all at once.
Diagnostic table
| What you see | What it suggests | Next check |
|---|---|---|
| Natural nail visible at side | Candidate is too narrow or off-center | Try the neighboring size and recenter before filing anything |
| Tip overlaps side skin | Candidate is too wide at that edge | Compare the physically narrower candidate or a permitted minor filing adjustment |
| Correct width but sides spring upward | Profile mismatch / molded tension | Compare the natural and artificial arcs; test a closer profile. |
| Center touches but sidewalls hover | Incomplete contact / profile mismatch | Compare the two arcs directly; test another profile at similar width. |
| Tip rocks cuticle-to-free-edge | Longitudinal contact is unstable | Find the pivot point and test a different profile |
A controlled test plan
- 1
Lay out all ten candidate tips before opening adhesive.
- 2
Photograph each questionable nail from above and from the free edge.
- 3
Compare only the two closest sizes or profiles; do not force either candidate.
- 4
Mark width, curve, and rocking as separate pass/fail checks.
- 5
Apply only after every finger has a comfortable dry-fit winner.
What not to do
- Choosing by printed number alone across different brands.
- Pressing a painfully curved tip flat because the width looks correct.
- Letting side edges rest on skin to gain more coverage.
- Adding extra glue to bridge a large, visible dry-fit gap.
Worked troubleshooting example
Example: your right index measures about the same width as a size you used successfully in another brand. The new tip covers from side to side, so you assume it is correct, but it pinches when you release pressure.
You look from the free edge and see the new tip has a deeper C-curve. The neighboring physically wider candidate actually worsens the skin overlap, while a different shape in the same collection rests flatter and keeps the sidewalls covered.
The useful lesson is that your width measurement was not wrong. The curve profile changed, so changing the number alone could not solve it.
Field notes
A dry fit is most informative before buffing, glue, tabs, or pressure change the surfaces. Treat that moment as a baseline. Once adhesive is present, it becomes harder to tell whether a gap was already there or was created during placement.
Fit can differ finger by finger. A flat thumb and more curved middle nail on the same hand are not unusual from a troubleshooting perspective, so a single 'hand type' label should never override what each nail shows.
Frequently asked questions
Should press-on nails cover the whole natural nail?
They should cover the visible nail plate from sidewall to sidewall without sitting on surrounding skin. Coverage alone is not enough; curve and stable contact also matter.
Should a press-on feel tight?
No. A correct fit should not need painful pressure to stay in place. Tightness can come from an overly narrow or overly curved tip.
Can a press-on be the right width but still be the wrong fit?
Yes. Width, C-curve, cuticle shape, and overall contact are separate variables. A correct-width nail can still rock, pinch, or leave a center gap.
Sources checked
Sources below are page-specific. We prioritize manufacturer directions for product-specific steps and use medical or dermatology guidance when a safety question requires it. Always follow the instructions for the exact adhesive or set you own.